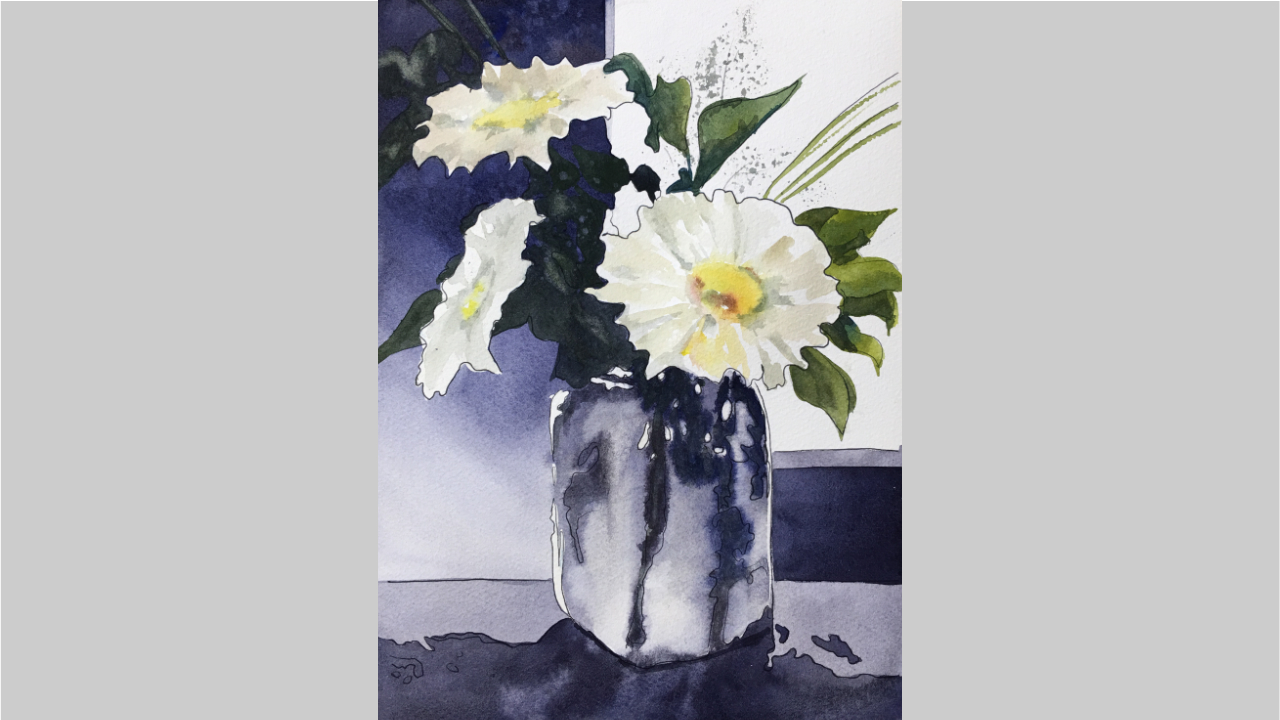
Daisies in a Jar Project
NOTE: If you skipped directly to this project and discover you need help with the skills used in the project, please refer to the preceding lesson videos.
Note: Set your printer to “no scaling” or “print actual size” instead of “fill page” to print the templates at the correct size.
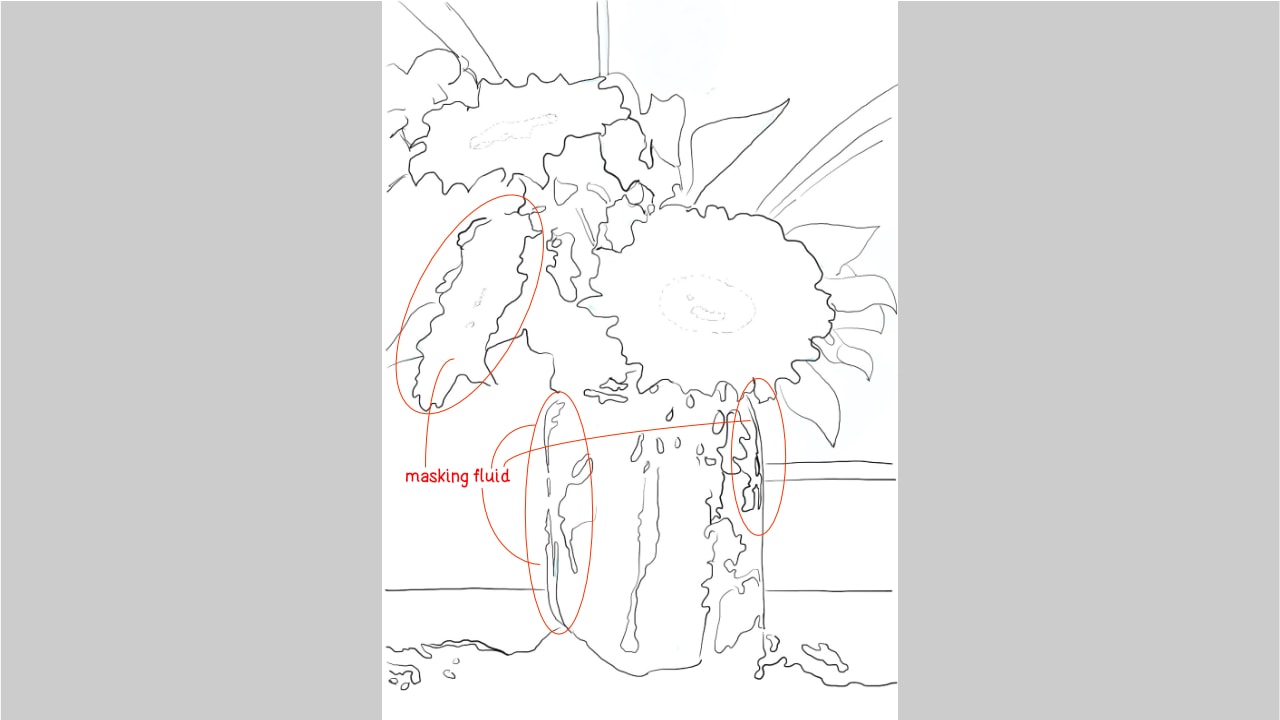
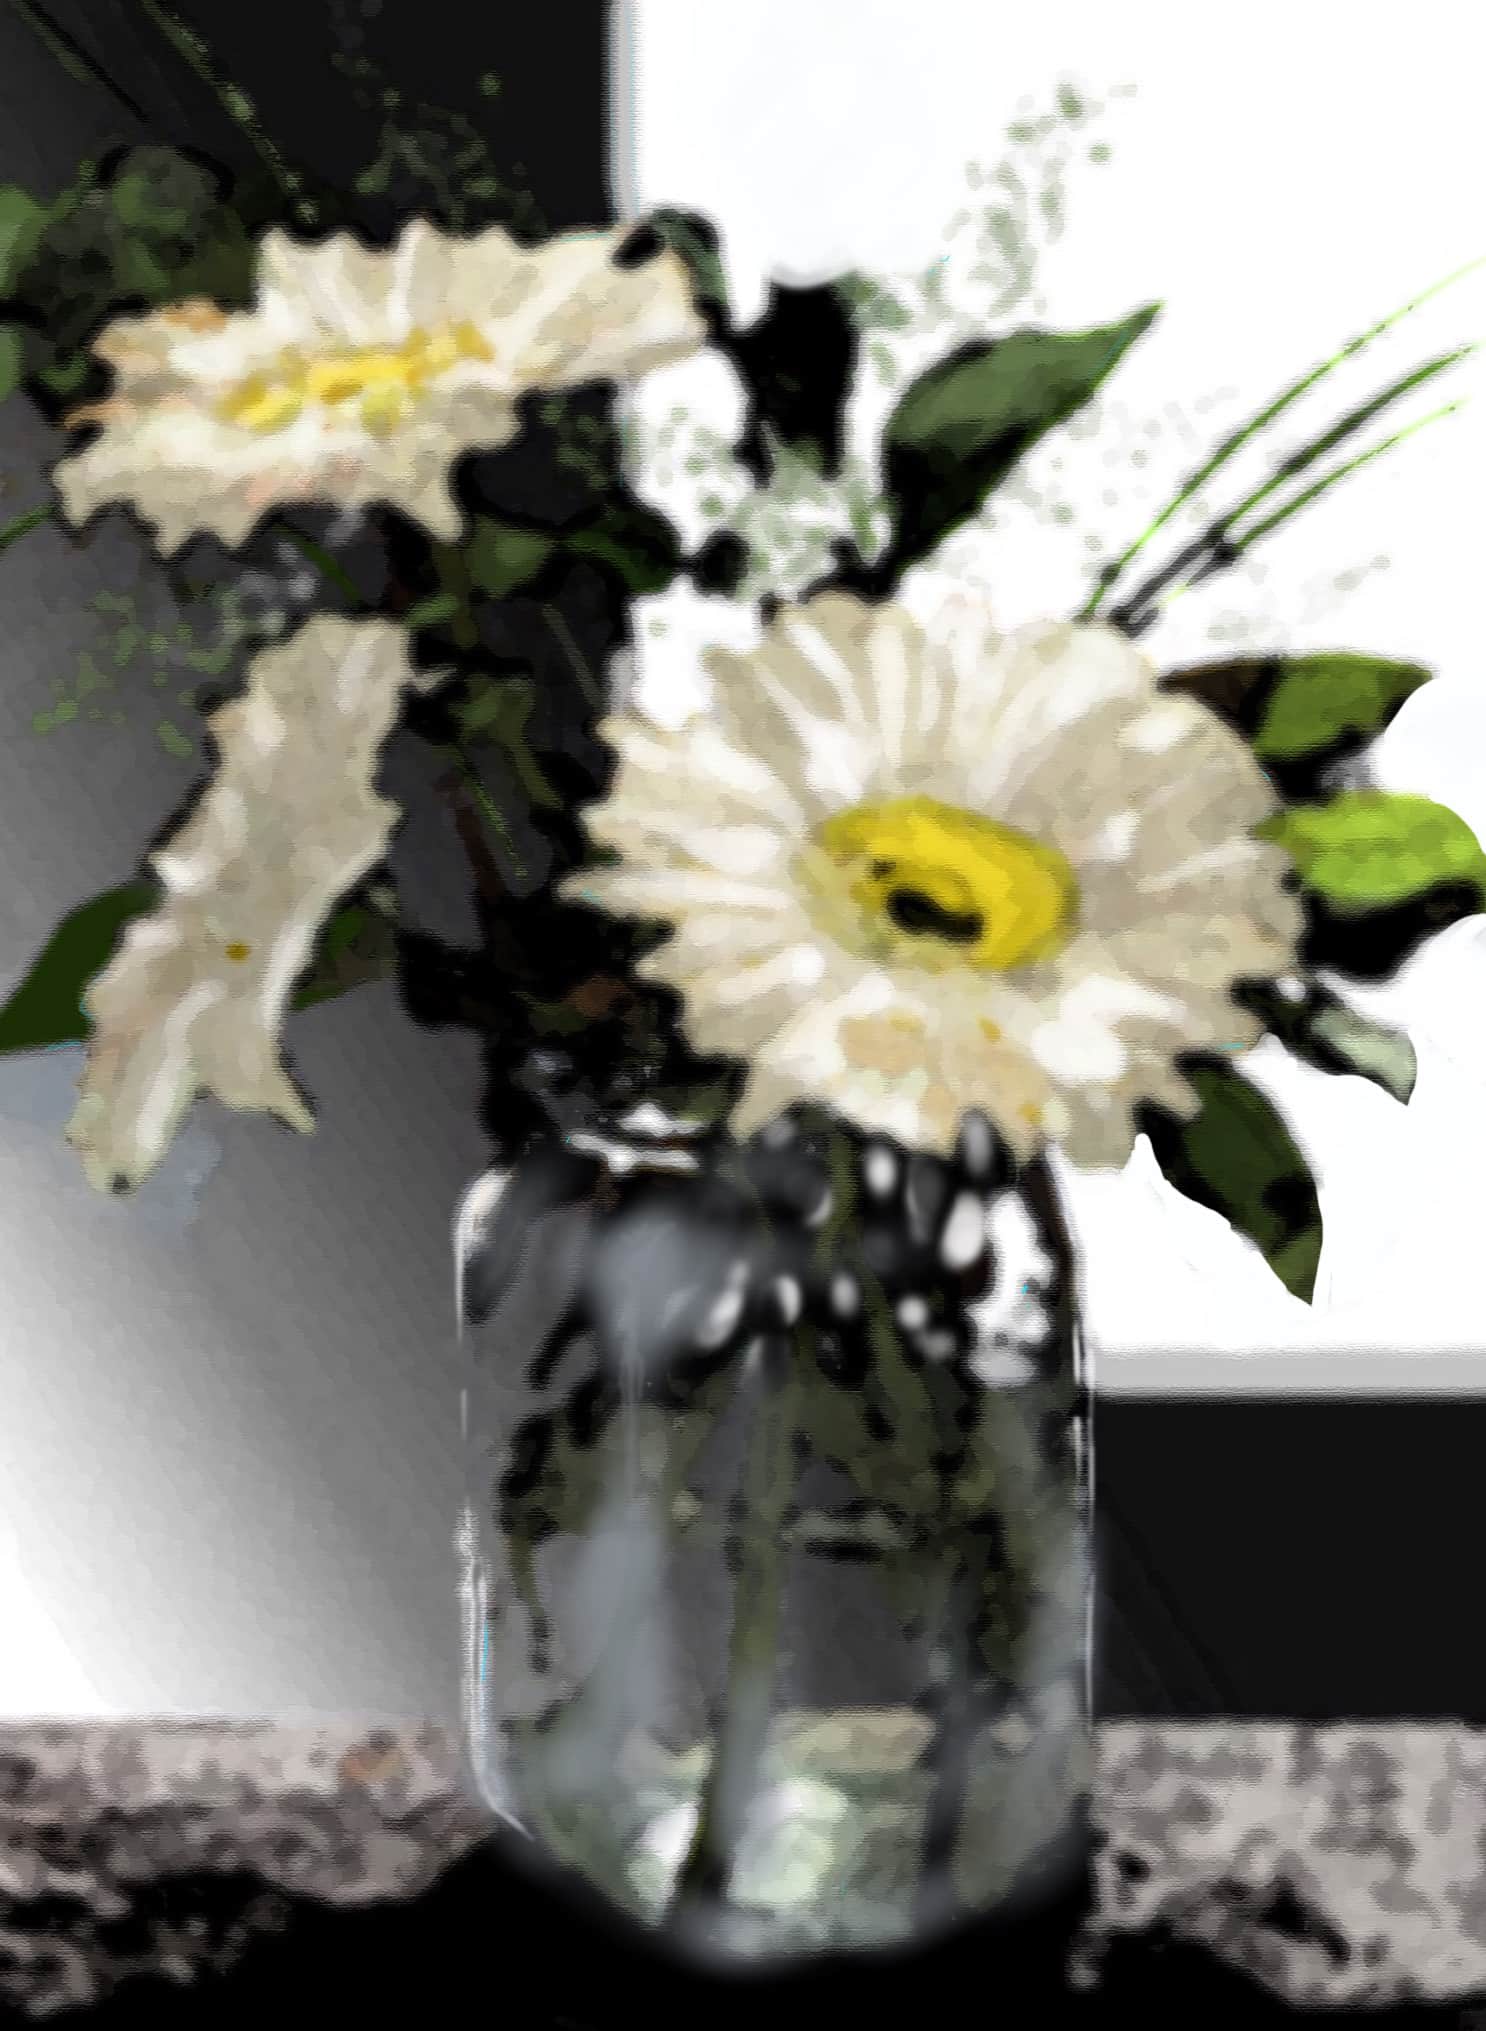
For this project, you will want to print out the template for the underdrawing, the photo reference (blurred, so you won’t get too caught up in fussy details), and the diagram showing where to apply the masking fluid.
Course Content
Getting Started
- Gqthering Your Supplies
- How to Tear Large Sheets of Watercolor Paper
- How to Properly Rinse and Care for Your Brushes
- How to Make a Painting Support Board
- How to Remove Masking Tape Without Tearing Your Paper
- How to Set Up Your Workspace
Project 1 — Spring Chickadee
- Project 1 Overview
- How to Transfer a Drawing to Watercolor Paper
- How to Make and Apply Vibrant, Juicy Color
- Exploring Brushmarks
- The Mechanics of Mixing Watercolors
- How to Spatter Watercolor Paint
- Project Lesson — Spring Chickadee
Project 2 — Marbles in the Sun
- Project 2 Overview
- Achieving Soft Edges in Watercolor
- Introduction to Shadows and Highlights
- Project Lesson — Marbles in the Sun
Project 3 — Rainbow Rose Window
Project 4 — Dawn and Dusk at the Lake
- Project 4 Overview
- Laying Flat and Graduated Washes
- Glazing Over a Previous Wash
- Five Techniques for Trees in Watercolor
- Project Lesson — Dawn and Dusk at the Lake
Project 5 — Daisies in a Jar
- Project 5 Overview
- Reserving Whites and Lights, Part 1 — Intentional Blooms
- Reserving Whites and Lights, Part 2 — Lifting Wet and Dry Paint
- Reserving Whites and Lights, Part 3 — Negative Painting
- Reserving Whites and Lights, Part 4 — Using Resists
- Project Lesson — Daisies in a Jar